Creating screencasts with Final Cut Pro X and Claquette
Monday 03. May 2021 17:02:34 UTC+01:00 -
The screen recording features of Claquette span a wide range of use cases. You can capture a short clip, convert it to GIF and post it to social media or you can record long form footage to produce a high quality screencast. In this article we'll focus on the latter and show how to leverage the Final Cut Pro X and Motion exporters in the "Pro" version of Claquette.
Preparing your recording
When recording your screen, it's important to consider the display resolution and the aspect ratio of that resolution. For best results, configure your screen in a way that matches the playback environment of your target audience. For example, if you plan to distribute your screencast on YouTube, it's best to record your screen in a resolution with an aspect ratio of 16:9. This is the
standard aspect ratio on YouTube
.
A quick way to find your screen's aspect ratio is the "Display" preference pane in Claquette:

If you have a second display connected to your Mac, you can also use the "Display" preference pane to explicitly set this display as recording device. Per default Claquette always records the screen where the cursor currently resides on. This can be useful since a lot of built-in displays in MacBooks have an aspect ratio of 16:10 while many external screens feature an aspect ratio of 16:9. This allows you to choose the one that best suits your needs.
To change the resolution of your recording, you can either use the macOS System Preferences to globally change the resolution on your system or use Claquette recording presets. Those presets dynamically resize the incoming frames before appending them to your recording. Presets can be configured on the "Display" preference pane. To select a preset, you can use the "Capture Content of" popup on the recording window.
Things to consider during recording
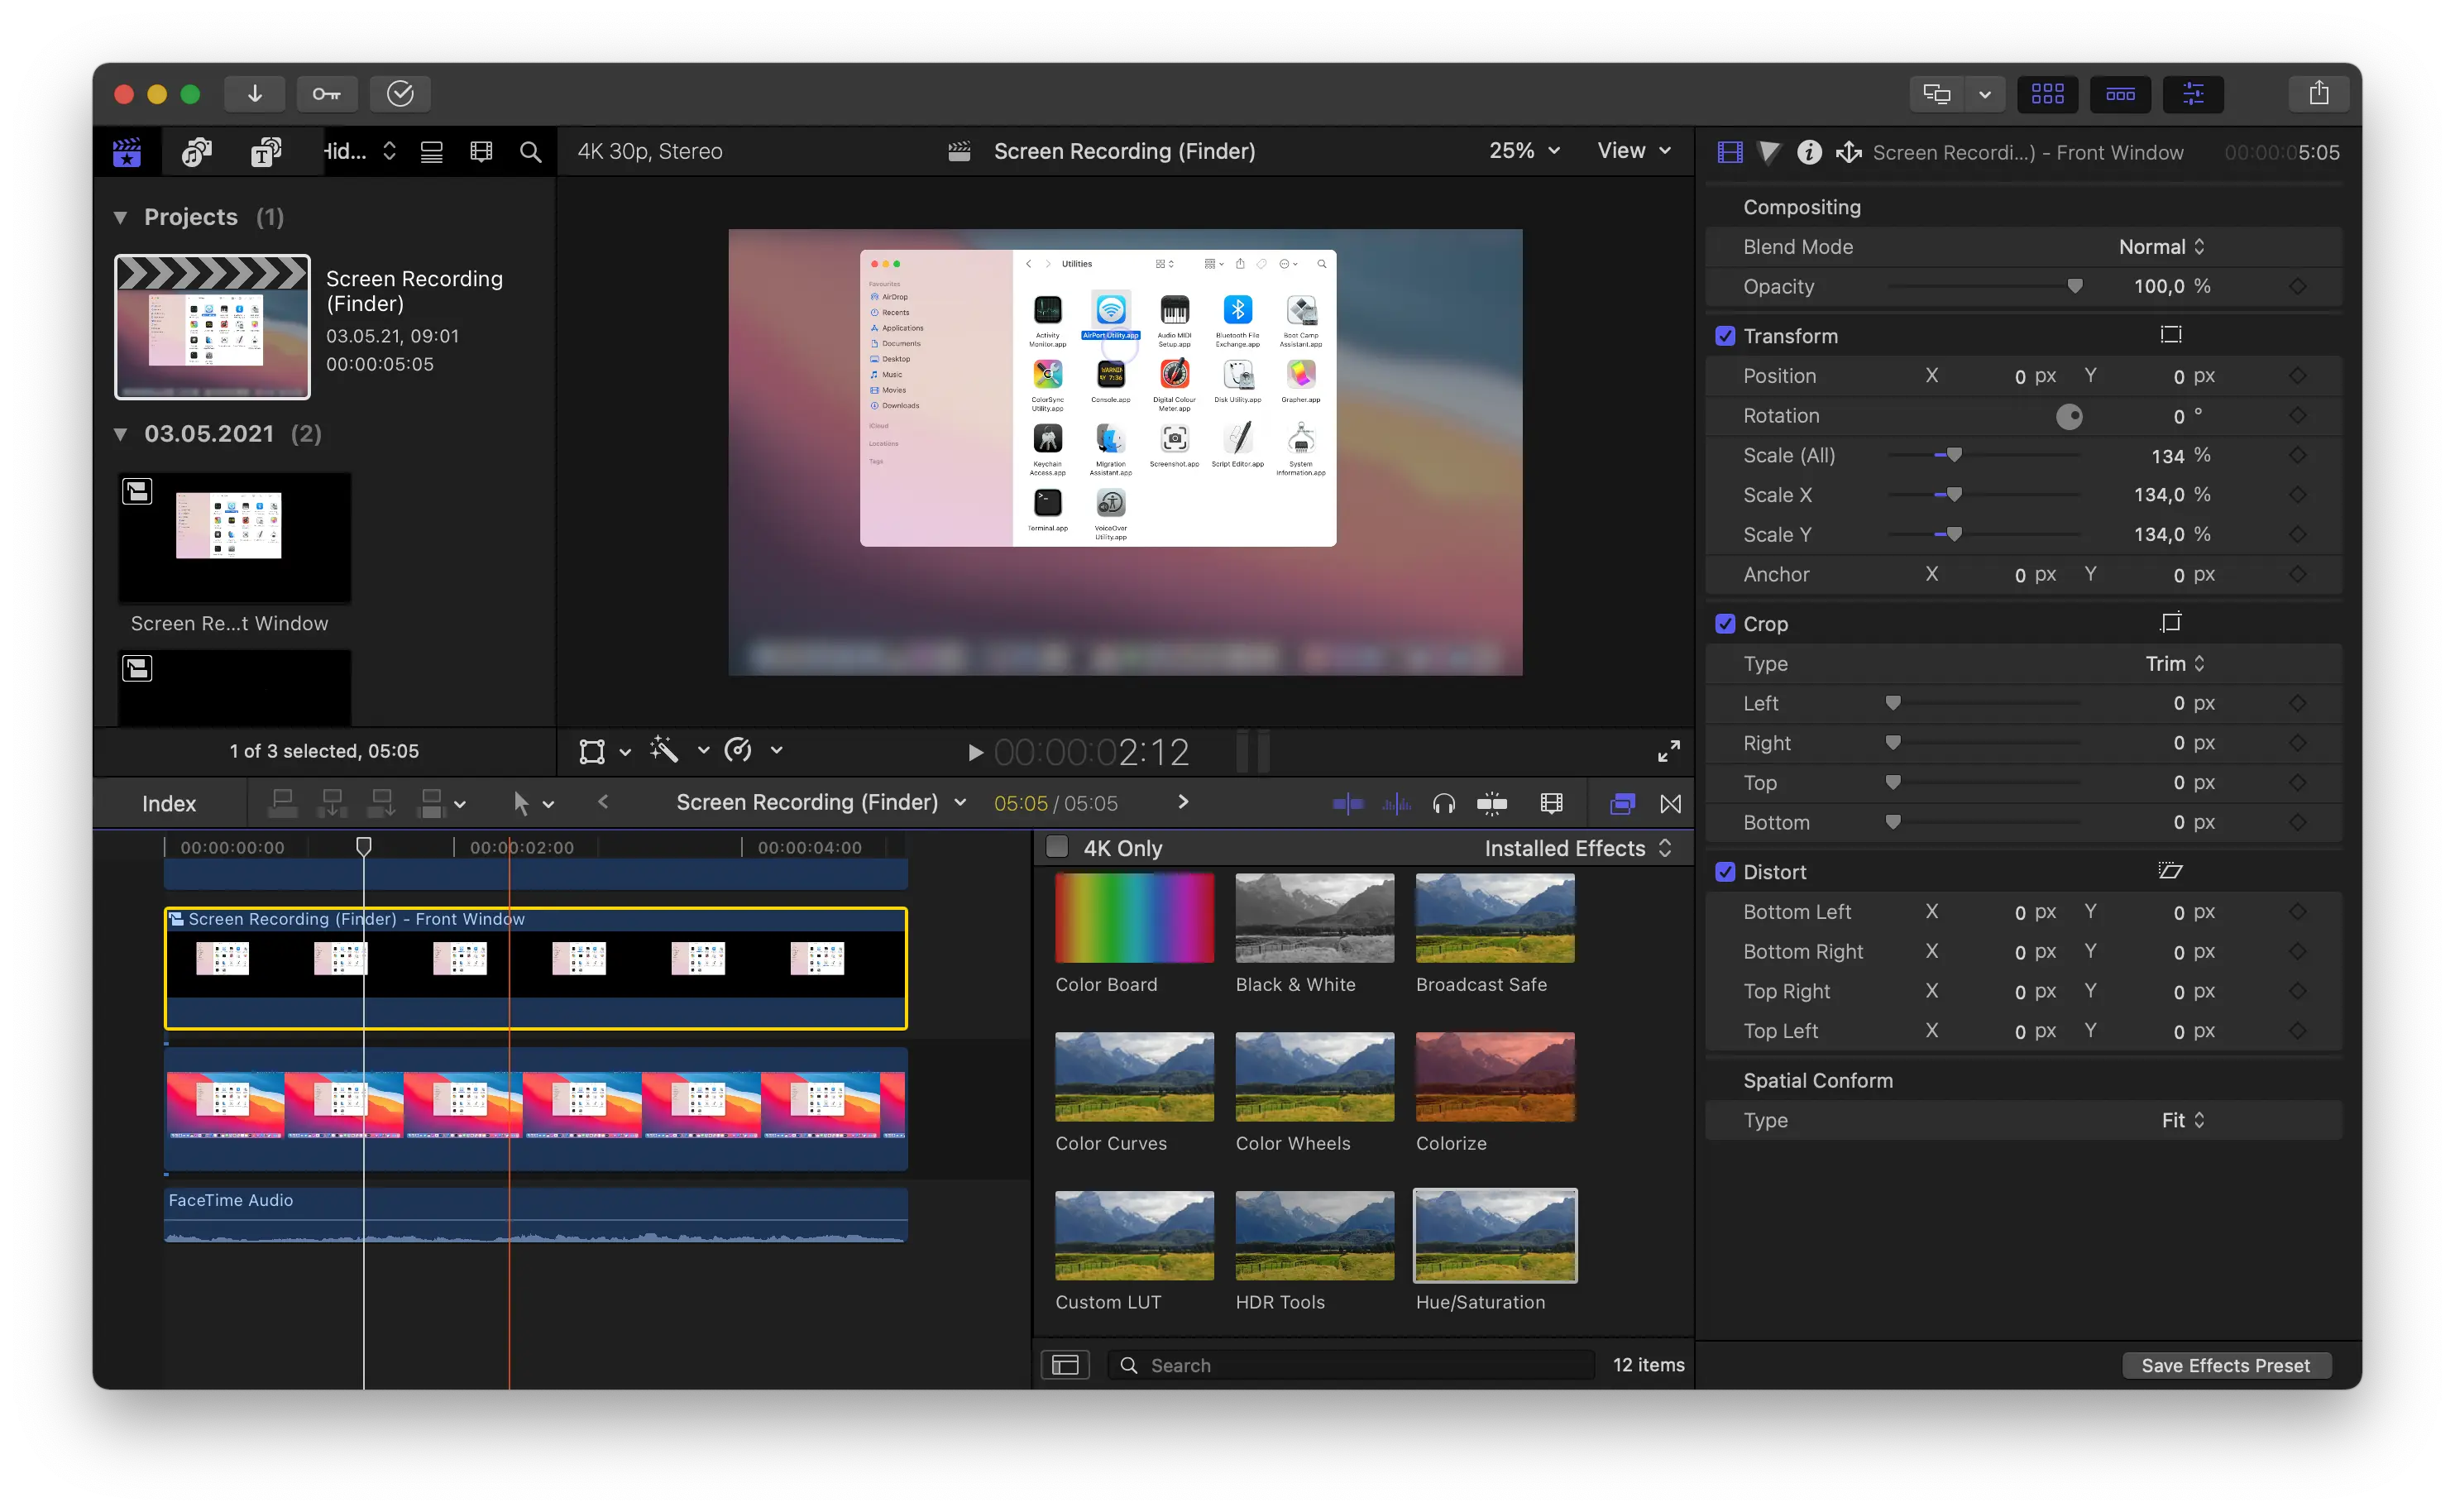
Claquette always records the full frame of the selected screen and later lets you crop your recording to cut out relevant portions. Additionally, the app also tracks your frontmost window during recording. This tracked information is used to assist you during crop and also when generating Final Cut or Motion projects. When exporting a project, a separate lane for the current frontmost window is created. This lane can be used for various effects. It allows you to zoom the content of that window independently or to create effects by applying filters. For instance, you can apply a "Gaussian Blur" filter to the main screen recording track to focus on the contents of the frontmost window.
It's important to avoid fast movements or fast resizing of windows during recording if you want to work with them later in Final Cut. Filters and effects are working better for windows that stay at the same size and position.

Exporting to Final Cut Pro X and Motion
When performing a "Project" export, Claquette uses a high quality ProRes 4444 preset when rendering video assets. Due to the high quality, encoding can take a while. To keep export times short, consider trimming your footage before exporting to Final Cut or Motion. All other aspects of the project are exported in a non-destructive manner. This means that even if you have e.g. a "Crop" applied, the full size asset is exported and the crop is configured as property of the project. This allows you to adjust or remove the crop later when working in Final Cut or Motion. The export dialog also allows you to choose the click effect for the cursor. The mouse cursor and its click effect are also represented as dedicated tracks in Final Cut and can be changed in various ways. You can zoom, hide or change the displayed cursor images.
The high quality of the recordings and its project export features allow you to integrate Claquette into a Final Cut based workflow. This enables production in a familiar editing environment with many ways to enhance your screencasts.